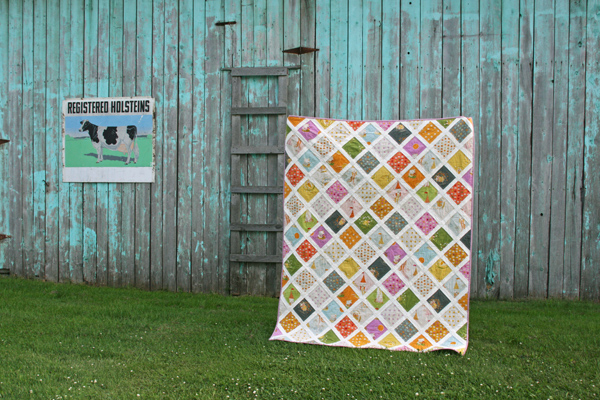
I thought it was time to branch out a bit and work on some applique. So far I haven't been a fan of wall hangings and applique, but I saw a wall hanging pattern in the quilting magazine I won at the retreat and it instantly made me think of a family member because she loves singing the 12 Days of Christmas song with the whole family - you know the type where everyone has a line and the person with the "5 golden rings" has to be a man with a deep baritone :)
So I decided to give it a go - I guess I felt reckless after my success with foundation piecing, hahaha!
Here's an account of my progress so far, and I'm pretty darn happy with how it turned out!
Here's a shot of the glossy magazine and the first cut-out shapes (note that my big window in front of
my new sewing space is pretty useless since all my quilting happens after 5pm when it's dark here :) (apart from weekends).

I appliqued the heart and wing of the partridge first because they were both big and had the most straight lines (apart from the tree branches). I chose a wider zigzag stitch that I used for my imagination 1 quilt circles (that was more a satin stitch, I guess). I figured this wall hanging won't be handled as much as a quilt, so this stitch should be able to hold it all together.
Big admission: I decided to forgo the fusible interfacing and just laid my pieces on, pinned them and started zigzagging around it.

By now, I have the tree trunk and branches attached and all the pears and leaves pinned in place where I wanted them (I made the whole pattern a bit smaller and cut out the bottom branch of the tree - it meant about 17 fewer leaves and 4 fewer pears to be appliqued, apart from considering how much wall space the recipient has available. The actual pattern is for a wall hanging that's bigger than my baby quilts!)

Here's my appliqueing technique in action :)

Next, it was time for the border. Again, I played with the pattern a bit - it wanted 4.5" squares for the border, but that was too big for me. I ended up using charms and cut them in half (2.5" squares). In fact, it was a charm pack that I blogged about
here - I found it too dark when I opened it at home, and too traditional for my taste, but it's perfect for this project!

With a bit of cropping of my applique background fabric, I managed to fit the 2.5" square border - it's tricky with squares - you can't just cut the border to the length you need or you'll end up with rectangles at the end...

The transition from dark center to dark border was a bit to blah for me, so I decided to insert what my quilting teacher Leona refers to as flippy (some of you quilters will never have heard this term, because one lady I asked about how to do this just greeted me with uncomprehending silence... "You want to make a what?"). What it is - and feel free to tell me what you call it - is a thin strip of fabric, e.g. 1" wide, folded in half like binding and sewn on like binding but between the border and the centers. It results in a narrow outline that is ironed down but creates more dimensionality than just a narrow border strip. Here's my first attempt at it.
First, I pinned on the flippy strip, then I pinned the border strip on top. I pinned lots.

And I mean LOTS! I had a bouquet of pins :)

Here, the side borders are attached, including the flippy. The top and bottom flippies were tricky - how to make a nice finish at the corners instead of the raw edges?

I ended up folding the ends in, just like when you get to the end of the binding strip on a quilt. It kind of worked, but if there's a better way of doing this, PLEASE let me know!!!


In the end, I was very happy witih how everything worked out. I think the piece is not perfectly square - the applique kind of crunched up the background fabric a bit, maybe the fusible interfacing is useful after all? Or maybe doing it quilt-as-you-go with batting and backing in one is a good method for this? No idea, but I can try all that in the future and am as always open to suggestions.


(The eye is appliqued, it fit better than the suggested fabric pen dot)

Gosh, it's fun to try new things!!!
 I finished this wallhanging Wednesday night. Because I didn't want this quilt to get any bigger, I decided against any solid borders and just went straight to binding. I chose the same fabric for binding that I used for the partridge body and the flippy.
 The backing (plain muslin) looks kind of fun with the ghost of the pears and the partridge ;)


.JPG)