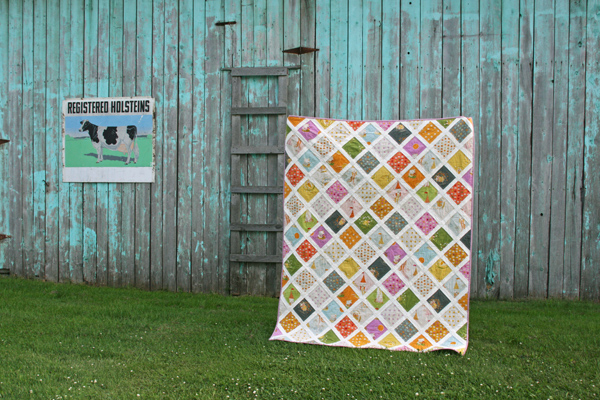
I once again couldn't get myself to do an overall-quilting-pattern, so it's turned into more of a free-motion sampler :)


Thought I'd share the different styles I used with you:
 A free-motion grid! I didn't do too bad with the lines, eh? I did mark them with a disappearing marker (pink, from Singer - it kind of disappears faster than I can quilt, actually), but I only had that idea *after* I started the first line and didn't want to take the quilt back out and start the line again, haha! So I marked the grid very awkwardly and somewhat haphazardly with a ruler while the quilt was in the machine (meaning I didn't have a very even surface underneath). The lines are about 3/4" apart. I kind of like the grid look, though this block reminds me of an oven mit - they must use that pattern a lot! :)
 This was the easiest block, I just outlined the printed squares...
Feathers and loops (easier to see on the back, which means this was a great piece for practicing! Who says you can't practice on a real quilt????)


McTavishing on the opposite side:

 And of course: PEBBLES!!!
I love this fabric, the bead curtain - so 70s! I went along with the pattern and did some connecting lines between beads of the same colour.
 Concentric circles around these green rings that fell in the brown water:
This one was fun - I kind of just put the needle down, get an idea and go for it. So maybe these could be invisible plumage on the chickens???

And I guess the brown dotted block didn't photograph well - it has one big spiral on it, but didn't show up well in my lighting.
I love being at the binding stage of a quilt again. I love hand-stitching the binding. I know many people don't. Too bad, we could trade off unwanted tasks!


.JPG)